Blog4:Nightscapes
It is always exciting and a little awe inspiring to see details of the immense night sky appear in your camera - details that are only hinted at when viewed with the naked eye. Our daughter Hannah was the first in the family to take photos of the Milkyway. I wasn’t interested in photography at the time, but it obviously made enough of an impression on me that I made ‘good in low light conditions’ one of the essentials for my first modest crop sensor camera. My early attempts were all about the technical aspects - getting the stars in focus, getting the right length of exposure, and of course the all important post processing. As you gain more experience you realise that the best night sky shots also include an interesting foreground that adds balance and interest to the image. The challenge of course is that it’s night time, the foreground is very dark! That leads to complicated techniques such as stacking multiple exposures or separate exposure for the sky and foreground. In recent years many night sky photographers use ‘star trackers’ that enable exposures that are minutes long and give wonderful detail. All these complicate techniques and equipment were getting a bit overwhelming for this old brain!
Fortunately I came across the work of Rachel Roberts https://www.riverstone-house.co.nz/astro-workshops and realised that with the right camera gear you don’t need complicated techniques or equipment to get great night shots (although good De-noise software is essential and a little knowledge of photoshop helps!). So I invested in a used full frame camera (Nikon Z6) and a fast lens - and boy did this make a difference. I also spent a little time with Rachel to help me better understand her approach and the insight she provided was invaluable. My night sky photos will never be in the same league as Rachels’, but at least now, if I’m presented with clear night skies, I feel comfortable that I can produce a reasonable image of wherever I happen to be. The following are some pointers for taking Milkyway images should you be interested …..
Good gear. A full frame camera and preferably one that is known for it’s good low light capabilities (fewer megapixels can be better!). A fast lens, f2 or lower, to capture as much light as possible. But also one that is sharp and easy to focus on infinity (practice in the daylight and mark the focus ring if necessary). I love my Nikkor f1.8 20mm lens! A wide angle lens - around 20mm (full frame) is a good starting point. Oh, and you need a sturdy tripod. You can of course take successful MW shots with a crop sensor, but my experience has been that a full frame camera with a good fast lens makes a noticeable improvement.
The Milkyway rising vertically on the horizon early in the season is the best time to start learning the basics. You can capture the core (brightest area) in one portrait shot. In the early part of the season May/June this is at a more civilised time of the evening. As the season progresses the MW is visible higher and higher overhead until it starts to ‘set’ in the West.
Plan you composition. Visit potential locations during the day and think about what foreground details may add interest to the shot of the MW (also check for anything that could prove a hazard when visiting in the dark). The Photopills app is an incredible tool to help with planning.
Camera settings? As a rough guide - f2 or wider with an exposure time of around 15-20 secs. ISO - go as high as you need. I typically use an ISO of between 3200 and 6400 but I will go higher if necessary. Use the camera’s built in shutter delay timer to avoid any vibrations when taking the shot.
Night shots with high ISO will have a lot of ‘noise’. So you need to use a good “denoise’ programme. Lightroom now has denoise built in and does a good job for most types of images. But at the moment I still use Topaz Denoise for my night shots.
When you progress to taking panoramas of the MW there are two KEY RULES you must follow to help the pano stitch together in Lightroom (or whichever software you use) - 1. Overlap your shot by at least 30% 2. Keep the camera LEVEL for each shot!
Check your shots for focus! Use the zoom function in preview. It would be very frustrating to not notice until you were home that you had accidentaly knocked the focus ring during a 7 or 8+ shot pano!
Of course the need for a clear sky and preferably little or no moon restricts when you can take night shots. So you have to be ready with a plan when the conditions are right.
For great free tutorials and inspiration visit - https://www.nightscapeimages.com.au
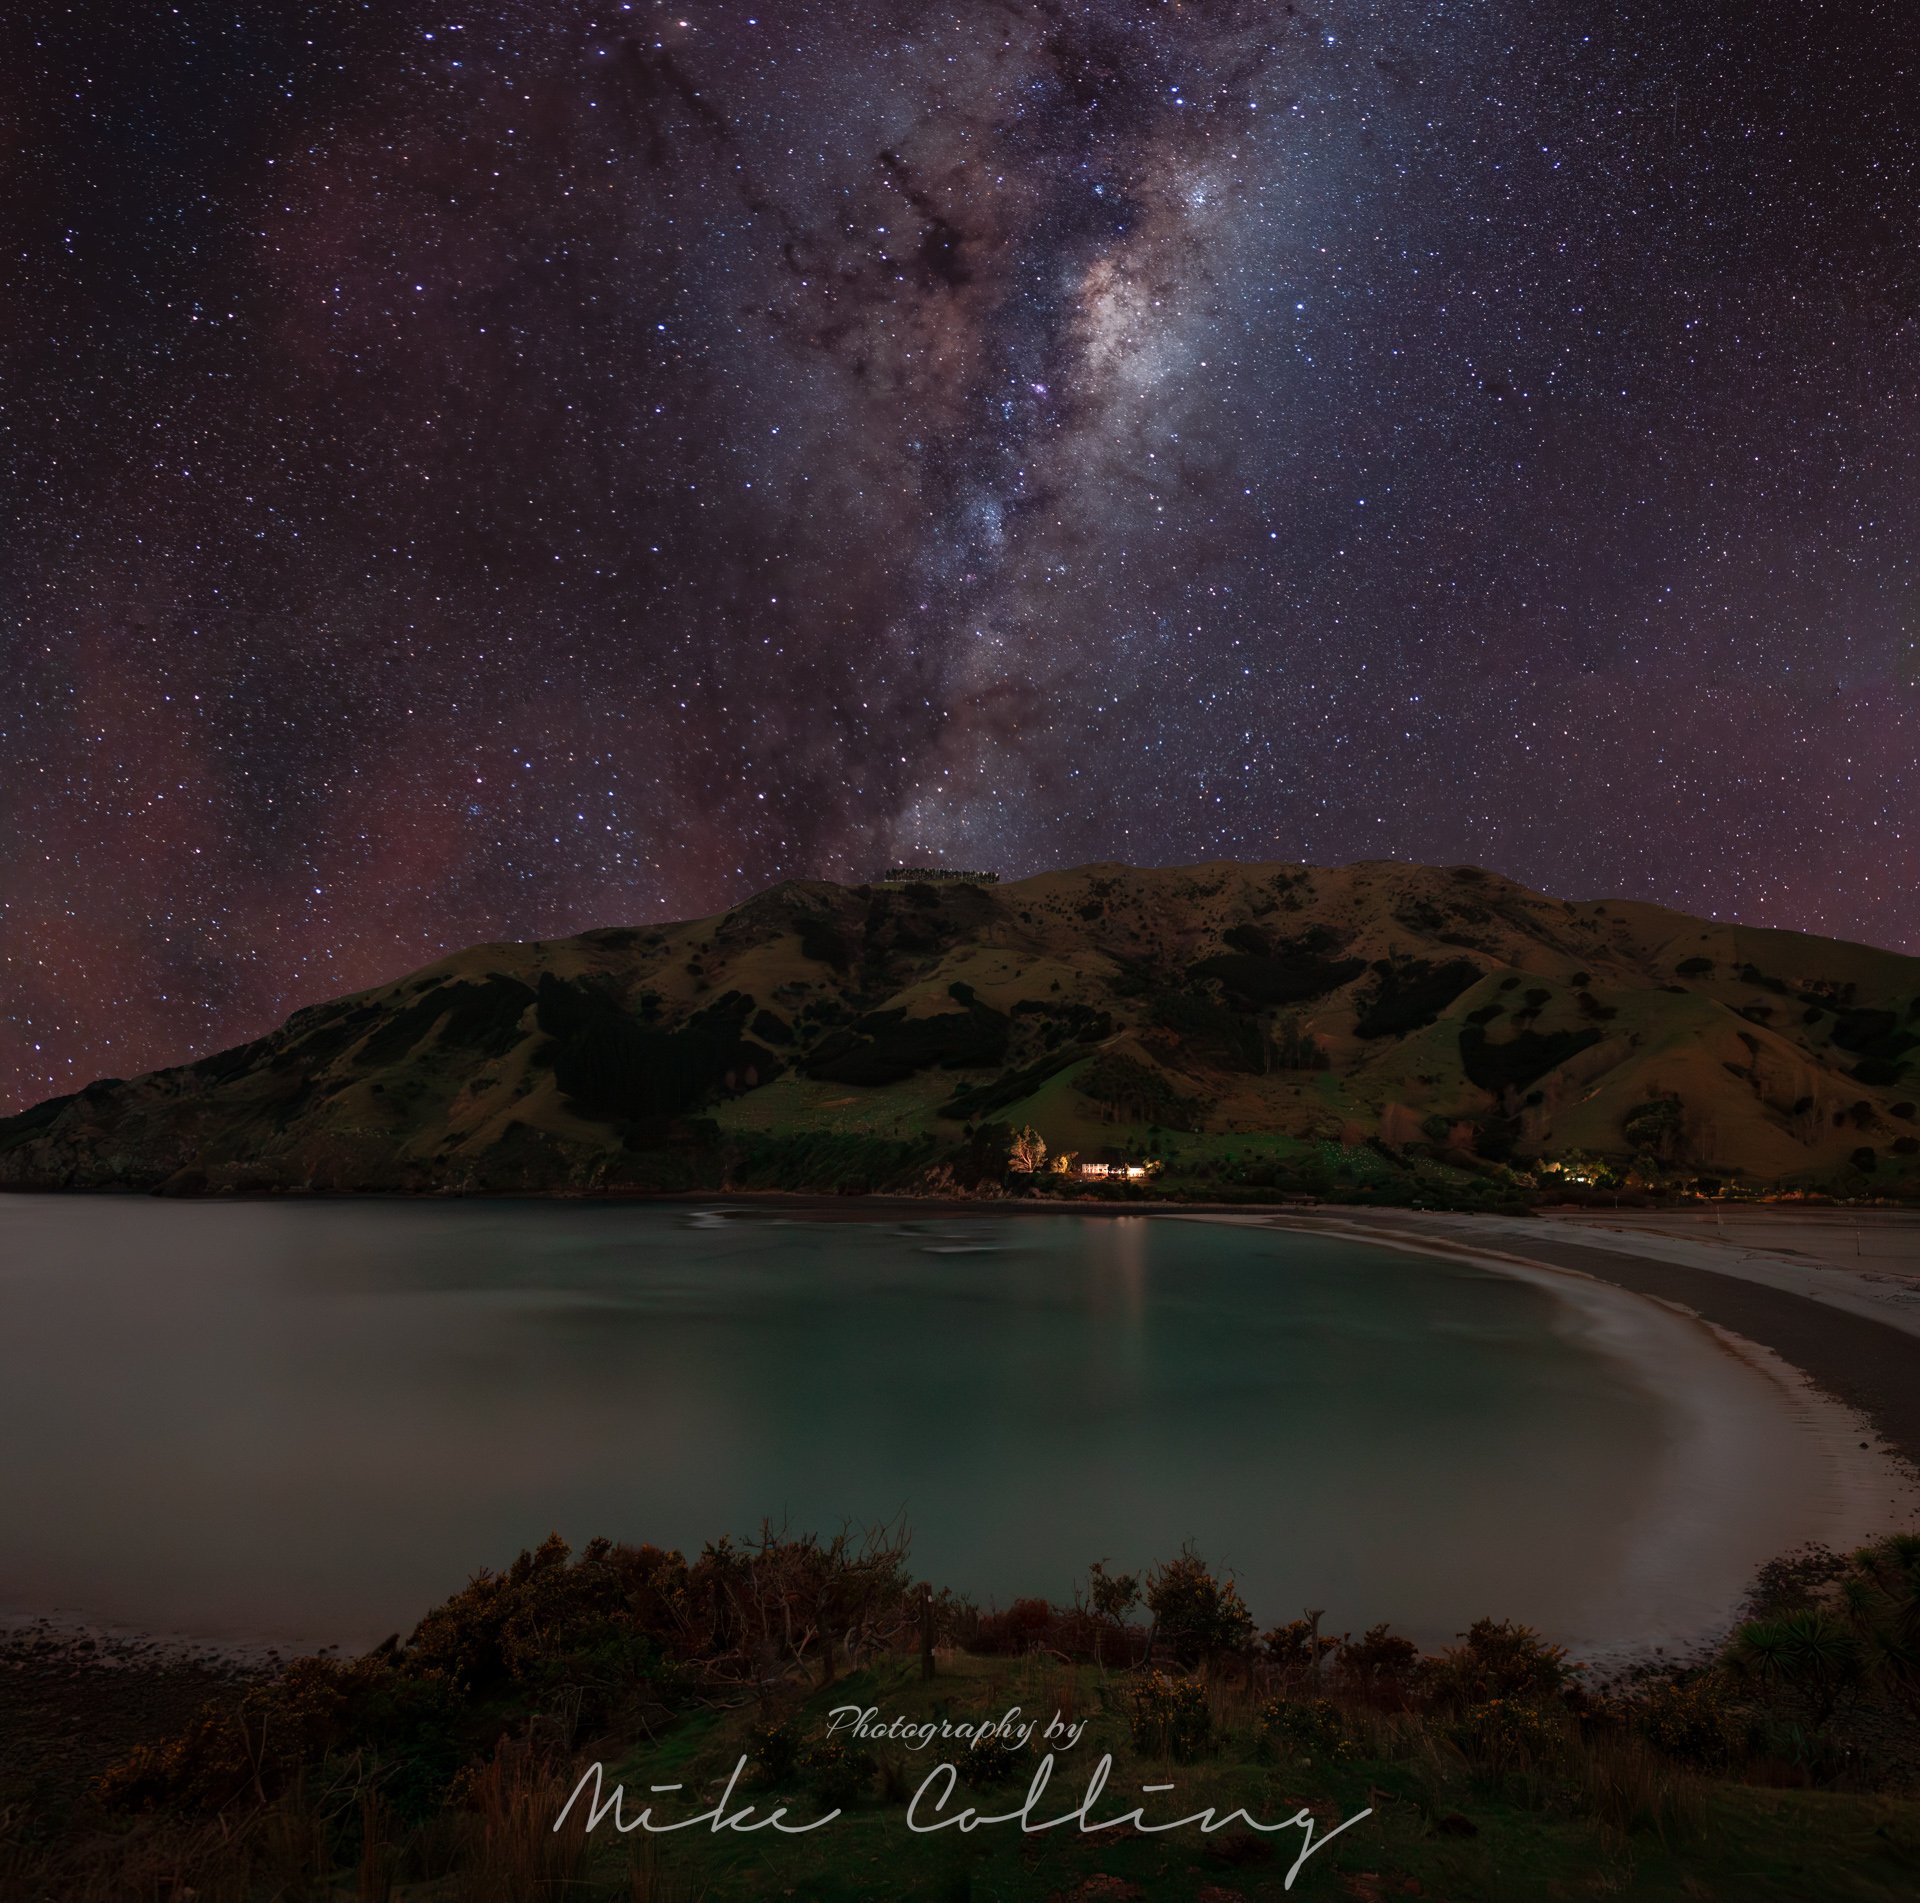
Below are a few of examples of my attempts at ‘Nightscape’ images. Two are of the Milkyway rising, using the foreground to add interest. The other is a full panorama of the Milkyway arch - not much foreground interest, but I was just happy that it stitched together in Lightroom! It was also good learning that you don’t need self levelling bases or pano heads (I have both but had forgotten them!) to take successful panoramas (but they can make life easier).


